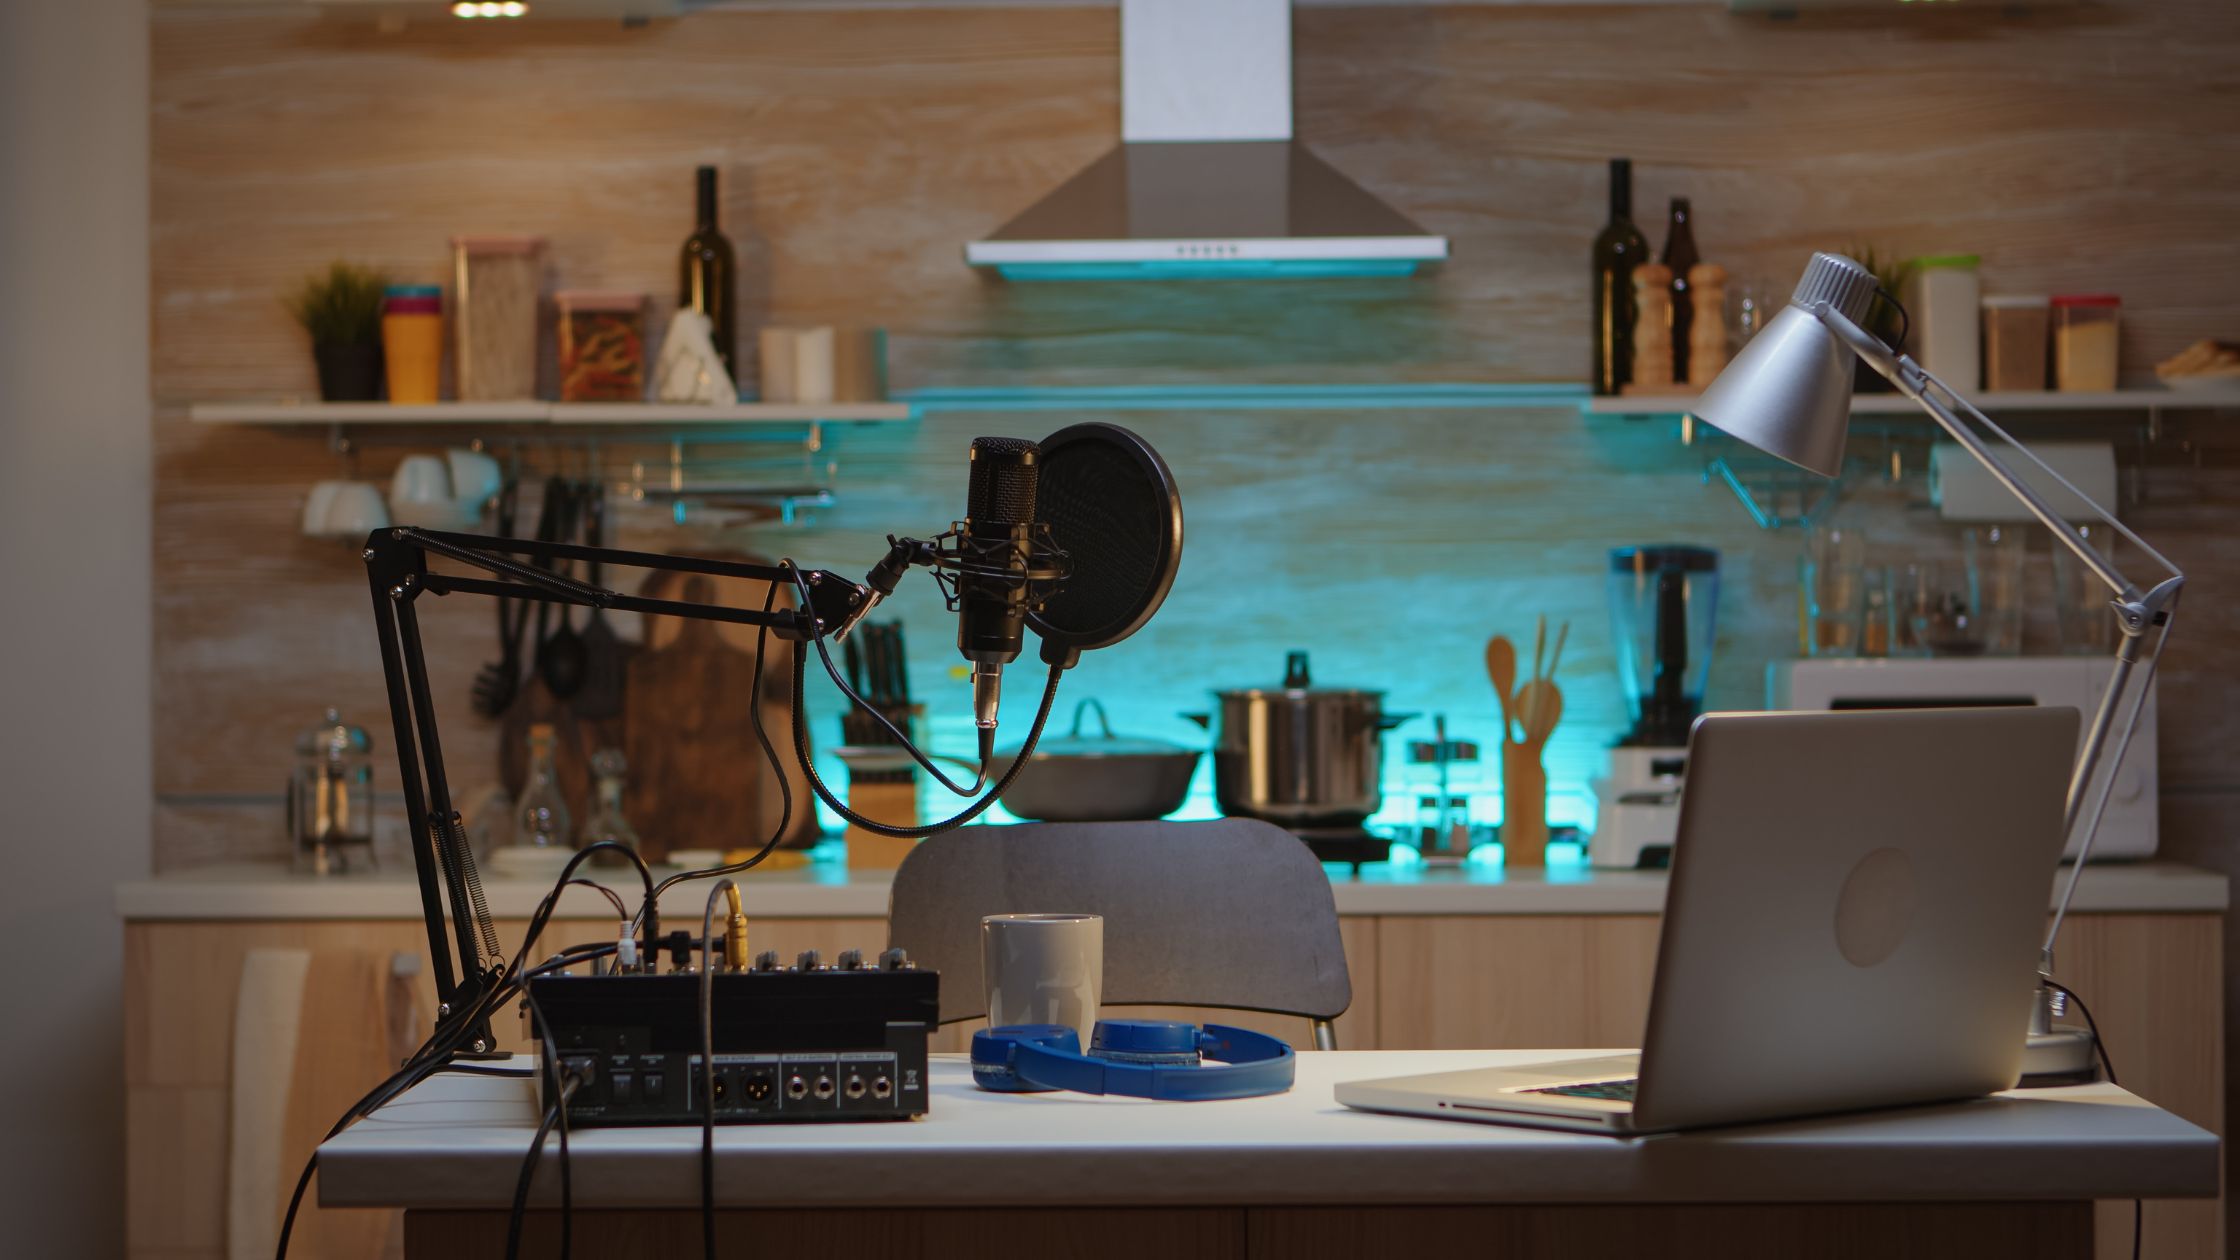
Choosing which items to buy for home studio setups can be difficult due to the huge variety of home recording studio equipment on the market. Curious to know how you can power your home studio with a music caster, then keep reading.
Sound quality is always the top concern when purchasing studio equipment for a music fan, whether they are an aspiring or established singer, an enthusiastic musician, a music producer, or a songwriter.
When writing good music and learning how to record music, sound quality is crucial. It shouldn’t be sacrificed in favor of purchasing inexpensive studio gear for a home setup.
If you have the necessary equipment and the money to build one, it’s not difficult to set up a high-quality and functional amateur or professional home recording studio.
The key gear you need for your home studio setup and how to put it all up are covered in this article. Now Let talking about what a Music Caster is.
What is Music Caster?
A music caster is a music player that allows you to stream music wirelessly from your phone, tablet, or computer to a speaker or set of speakers.
It connects to your home’s Wi-Fi network and can be controlled with a smartphone app. Some popular music casters include Google Chromecast Audio and Sonos Connect.
However, these devices can be used to power a home studio by allowing you to play music or audio tracks through studio speakers, making it easy to record or monitor audio.
It can also be used to play backing tracks or instrumental music during performances.
How Power Home Studio with Music Caster
If you want to listen to music on your laptop but don’t have a Plex server, Music Caster can help. It has its own music player, allowing casting to individual speakers or groups, and in my experience works flawlessly.
- Go to the Download Page,
- Choose “Portable.zip,” and then extract it somewhere on your computer.
- Now, open Music Caster.exe
- Look for a white Cast button in the taskbar.
- To open the music player, double-click the icon, or right-click and select “Select Device” to select your Home studio or Chromecast devices from the list.
RECOMMENDED SEARCHES:
- Getting Started with JavaMod: A Step-by-Step Guide
- TGM Gaming Macro – All You Need to Know
- The Benefits of Virtual Machines
How to Setup Advanced Home Studio
Setting up an advanced home studio can involve several steps, including:
1. Choosing a room: Select a room that is quiet and has minimal echo or sound reflections.
2. Soundproofing: Use materials such as acoustic foam or bass traps to reduce echo and outside noise.
3. Equipment: Invest in high-quality audio equipment, such as a microphone, audio interface, and studio monitors.
4. Lighting: Proper lighting can help you see and be seen while recording.
5. Software: Consider using recording software such as Pro Tools, Ableton Live, or Logic Pro to record and edit your audio.
6. Test: Test your setup and make adjustments as needed to ensure you are getting the best possible sound quality.
It’s important to note that the cost for this type of setup can vary greatly depending on the equipment and materials you choose.
Professional-grade equipment can be quite expensive, but if you’re serious about recording high-quality audio, it’s worth investing in the best gear you can afford.
How to Set up a Home Recording Studio for Beginners
1. Computer: A computer with at least 8GB of RAM and a fast processor is recommended for recording and editing audio.
2. Digital Audio Workstation (DAW): A DAW is a software that allows you to record, edit, and mix audio. Popular options include Pro Tools, Logic Pro, and Ableton Live.
3. Audio Interface: An audio interface allows you to connect microphones and instruments to your computer. Look for one with at least two inputs and a built-in preamp.
4. Microphone: A good quality microphone is essential for recording vocals and instruments. A large diaphragm condenser microphone is a good option for beginners.
5. Headphones: Closed-back headphones will help you hear yourself clearly while recording, and also monitor the sound while editing.
6. Acoustic Treatment: To get the best sound quality, it’s important to treat the room you’ll be recording in to minimize unwanted echo and reverb.
7. Cables and Stands: You’ll need XLR cables to connect your microphone and audio interface, and microphone stands to hold your microphones in place.
8. Lighting: Good lighting is important so you can see what you’re doing while recording.
By following these steps, you should be able to set up a basic home recording studio that will allow you to record and edit audio.
Therefore, as you gain more experience, you may want to invest in additional equipment, such as a mixing board or outboard gear.
What Equipment do Beginners Need for Their Home Studio Setup?
A beginner’s home studio setup typically includes the following equipment:
1. A computer with audio recording software (such as Pro Tools, Logic Pro, or Ableton Live)
2. A digital audio interface (such as a Focusrite Scarlett or a Presonus AudioBox)
3. Microphone (such as a Shure SM58 or an Audio-Technica AT2020)
4. A pair of studio monitors or headphones for monitoring
5. Cables and stands as needed
Additionally, beginners may also want to consider purchasing a MIDI keyboard or other instrument for recording.
How to Setup your Home Music Recording Studio
1. Choose a Room: Select a room in your house that is quiet and has minimal echo or reverb.
2. Soundproofing: If necessary, soundproof the room to keep outside noise from interfering with your recordings.
3. Equipment: Invest in a computer, digital audio workstation (DAW) software, a microphone, and an audio interface.
4. Acoustic Treatment: Set up acoustic treatments such as foam panels or bass traps to control the sound in the room.
5. Lighting: Make sure the room has proper lighting to help you see your equipment and read music.
6. Optional: You can also add other equipment such as a keyboard, guitar, or drum set for recording multiple instruments.
7. Practice: Once everything is set up, take some time to familiarize yourself with your equipment and practice using the DAW software.
RECOMMENDED PAGES:
- Getting Started with JavaMod: A Step-by-Step
- Peace Equalizer – User Interface for Equalizer
- Exploring Creative Uses for Canvas++
Which Software Should I use to Record Music?
There are many software options available for recording music, and the best choice will depend on your specific needs and level of experience. Some popular options include:
1. Logic Pro X
This is a professional-level digital audio workstation (DAW) for Mac users, with a wide range of advanced features and tools for recording, editing, and mixing music.
2. Pro Tools
Another professional-level DAW, Pro Tools is widely used in the music and audio industry and offers a wide range of features and tools for recording, editing, and mixing music.
3. Ableton Live
This is a popular DAW for electronic music production, with a unique session view that allows for easy experimentation and improvisation.
4. FL Studio
A popular DAW for Windows and Mac, FL Studio offers a wide range of features and tools for creating and editing music, as well as a user-friendly interface.
5. Audacity
A free, open-source audio editor for Windows, Mac, and Linux, Audacity is a great choice for beginners or those working on a budget.
Also, it offers basic recording and editing features, but it’s not as robust as professional-level software.
Ultimately, the best software for you will depend on your specific needs, budget, and experience level. It’s worth trying out a few different options to see which one you are most comfortable using.
Conclusion
When building up a home studio, it’s crucial to keep in mind that not all recording uses demand the same degree of investment.
Simple home studios can be cheap and still produce top-notch work. You’re well on your way to creating a fantastic recording studio if you already have a dedicated space and a workstation with an excellent PC.
Also, it doesn’t matter if you’re setting up a beginner, intermediate, or experienced recording studio; doing your homework, reading reviews, and getting suggestions are wonderful ways to get the best gear.
That’s all on ‘Powering Your Home Studio with a Music Caster’, feel free to comment and share.


