
< Previous | Contents | Next >
8.10.1. Editing videos using Pitivi video editor
Pitivi Video Editor is not included in Ubuntu by default. It is available in the Universe repository of Ubuntu. You can install Pitivi using Synaptic Package Manager.
Procedure 8.12. To edit video using Pitivi Video Editor:
1. On the Applications menu, point to Sound & Video and then click Pitivi Video Editor. The Pitivi vo
11.1 window opens.
2. The main Pitivi interface is divided into a number of panes. You can use the various buttons on the task bar to perform tasks such as opening, importing, adding, viewing and saving video clips. To edit a video clip, first import the clip in the Pitivi Video editor by clicking the Import Clips button.
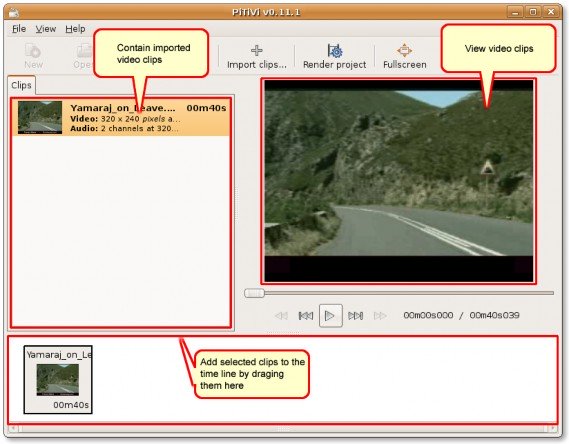
Figure 8.104. The Pitivi Interface
3. In the Import a clip dialogue box, navigate to the folder from where you want to import the video clip, select the single or multiple clips to be edited and click Add to import it in the Pitivi window.
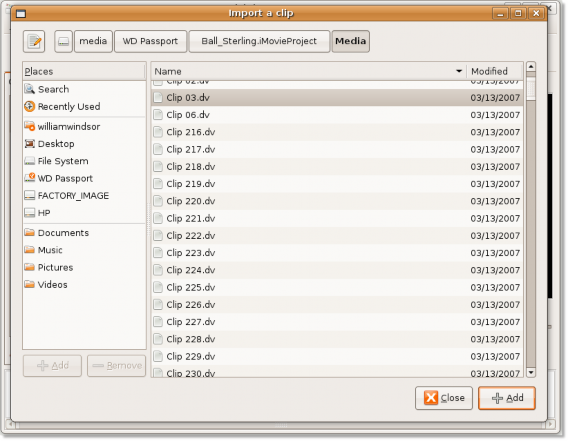
Figure 8.105. Importing Video Clips in Pitivi
4. The selected video clip is now imported into the Pitivi Video editor. You can double-click the video clip to view it in the right pane. Click the Stop button on the control bar to stop the playback.
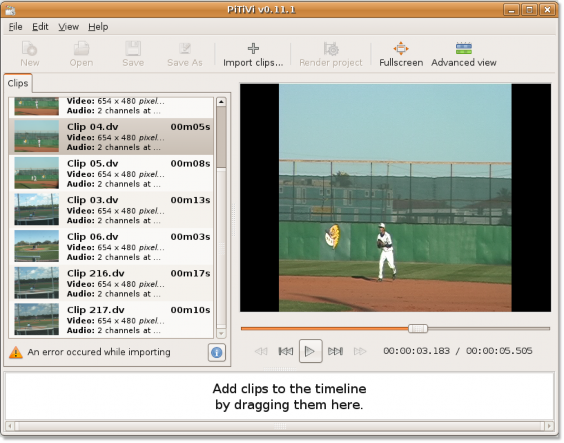
Figure 8.106. Viewing the Imported Video
5. To edit the imported video clip, you need to drag them to the bottom pane to add them to the time line and then select the Project Settings option from the File menu. This opens the Projects Settings dialogue box.
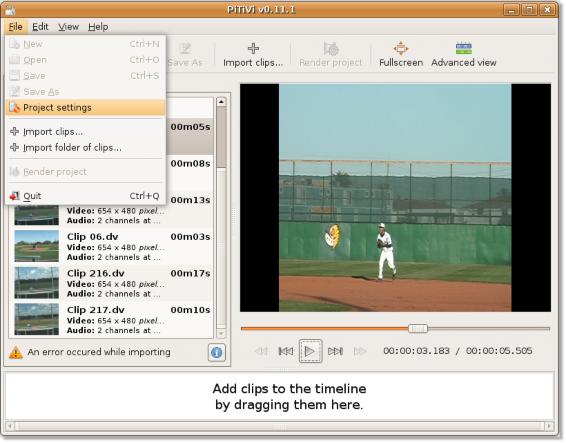
Figure 8.107. Displaying the Project Settings Dialogue Box
6. In the Projects Settings dialogue box, you can edit the various aspects of the selected movie clip by defining various specifications according to your preferences. You can use the Video Output section to define the height, width and the frame rate of the video. Similarly, you can define the audio specifications under the Audio Output section. Click OK after specifying your preferences.
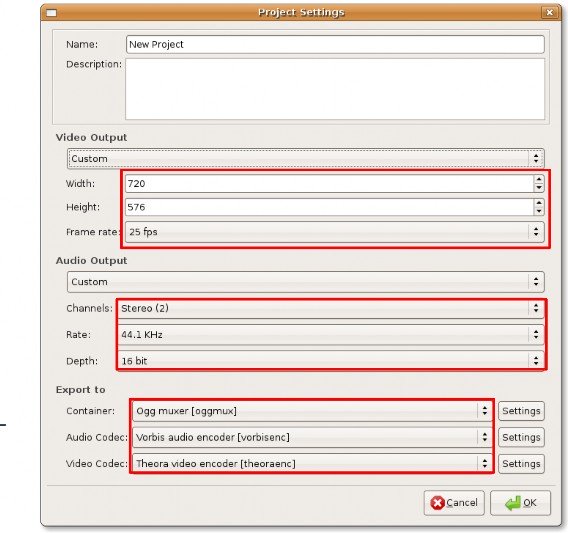
Figure 8.108. Specifying Edit Preferences
7. You return to the Pitivi window. To start applying your specifications on the selected video clip, click the Render project button. This displays the Render project dialogue box. You can use the Modify button on the Render project dialogue box to further modify your specifications for the video clip. Otherwise, click the Choose file button to specify a file name for the edited video clip.
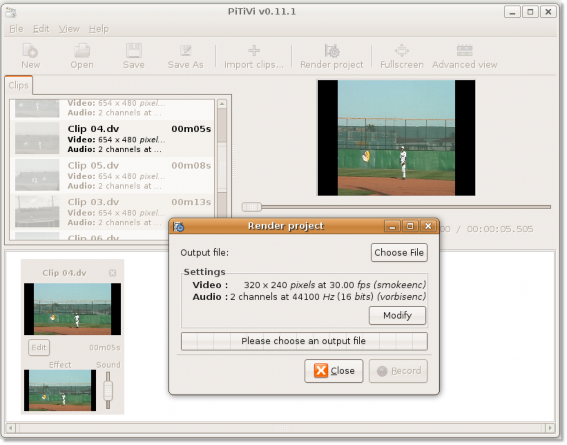
Figure 8.109. Specifying the Output File
8. This opens the Choose file to render to dialogue box. Use this dialogue box to assign a name for the edited video clip and specify the location where you want it to be saved. After specifying these details, click OK to continue.
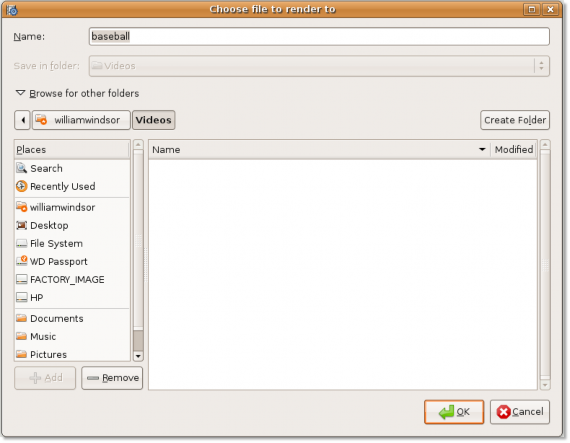
Figure 8.110. Selecting the File to Render to
9. The name of the file now appears on the Output file button. Start editing the video clip by clicking the
Record button.
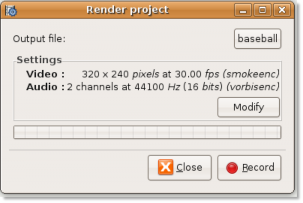
Figure 8.111. Editing the Video File
10. The Pitivi Video Editor has started rendering a new project based on your specifications. You can view the progress of the process in the progress bar. Once the rendering is complete, click the Close button on the top-right corner to exit the Render project dialogue box.
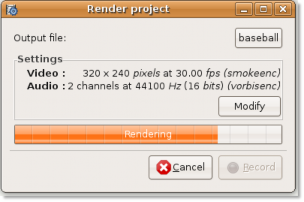
Figure 8.112. Project Rendering Progress Indicator
11. The newly edited video clip is now saved at the specified location.
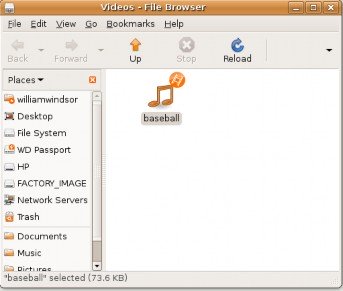
Figure 8.113. The Edited Video Clip