
< Previous | Contents | Next >
6.5. Using Add/Remove Applications
The Add/Remove tool is the easiest to use and will enable you to install and uninstall many popular packages. You can search for the package or packages you want to install by simply searching a keyword such as 'email' or by looking through the given categories, selecting applications and choosing "Apply" to start the installation.
![]() Note:
Note:
You need administrative access to use any package manager. Type the password for your user name
at the prompt. This means that applications can not be added / removed from your computer without your knowledge (and password).
Procedure 6.9. The procedure to add or remove software by using Add/Remove Applications is:
1. On the Applications menu, click Add/Remove.

Figure 6.32. Launching Add/Remove Applications
2. The Add/Remove Applications dialogue box displays a list of applications. The check boxes against the applications that are already installed are pre-selected.
![]() Note:
Note:
Many package names in Ubuntu are quite obscure, so the package manager will also look at
the package description when searching.
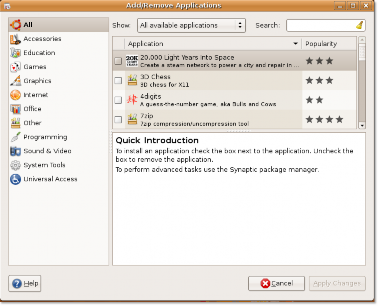
Figure 6.33. Add/Remove Applications Window
3. If you know the name of the package to be installed, you can type the name in the Search box. Otherwise, you can click the appropriate software category in the left pane and select the check box next to the required package in the right pane.
![]() Nice to Know:
Nice to Know:
For more details about a package, click the package and view the bottom pane.
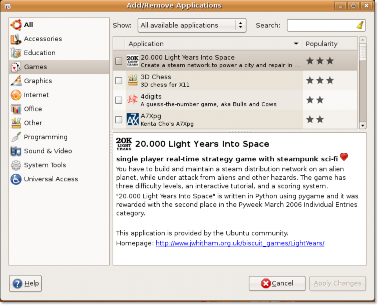
Figure 6.34. Searching for a Package in All Available Applications
4. When you have finished selecting the packages to be installed or removed, click Apply Changes.
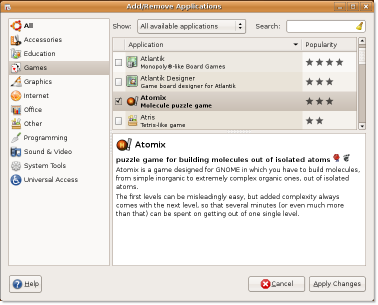
Figure 6.35. Applying Changes to the Package List
5. You are prompted to confirm your selection. Click Apply to proceed.
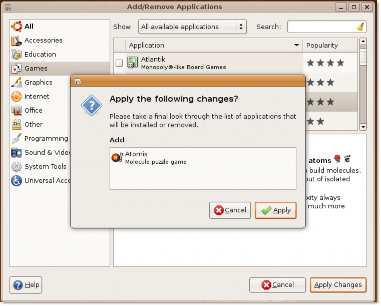
Figure 6.36. Confirming Changes
6. The progress indicator shows the status of the package being installed or removed.
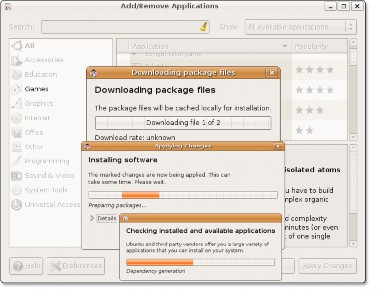
Figure 6.37. Installing Selected Package from Repositories
7. After the changes are applied successfully, the package is installed.
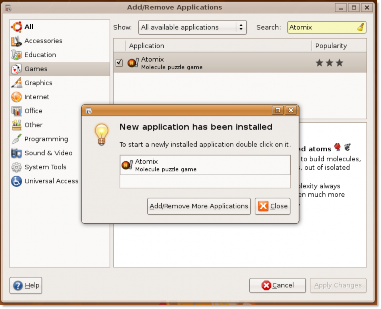
Figure 6.38. Installation Confirmation
8. Double-click the package to launch it. If you want to add or remove more applications, click Add/Remove More Applications or else click Close in the New application has been installed dialogue box. The following figure shows Atomix, which has been installed by performing this procedure.
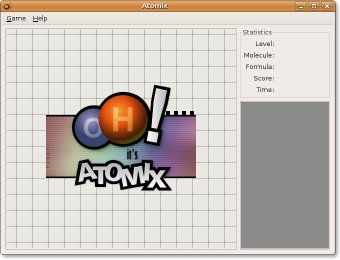
Figure 6.39. Launching the Installed Application - Atomix
![]() Note:
Note:
After installing a package, you can open it by using a particular menu based on its category.