
< Previous | Contents | Next >
8.3.2. Extracting Audio CDs
If you want to listen to your favourite music tracks without needing to insert a CD every time, you can create a copy of the CD and extract the music tracks on your computer.
Procedure 8.3. To extract the audio CD:
1. Insert the audio CD and click the Extract button. However, if you want to define the audio quality, format and the location where the files would be stored, click Preferences on the Edit menu. This displays the Preferences dialogue box.
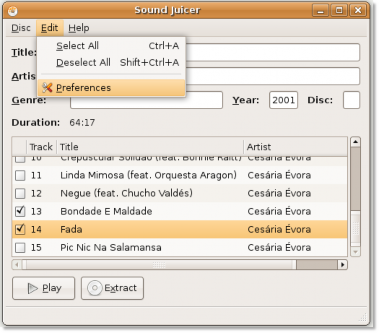
Figure 8.23. Defining Preferences For Audio Files
2. You can use the Preferences dialogue box to define a number of things such as how the folder hierarchy should be saved, how the files should be named and whether to eject the CD automatically after the tracks are extracted.
In the last section of the Preferences dialogue box, you can define the file format in which the tracks would be stored on your computer. Based on your requirements, select any one format from the Output Format drop-down list.
![]() Nice to Know:
Nice to Know:
You can also extract CD audio files to the proprietary, non-free MP3 format. Instructions for
extracting audio files into the MP3 format can be found in the help for Sound Juicer. Go to
Help>Content and then navigate to the Preferences section.
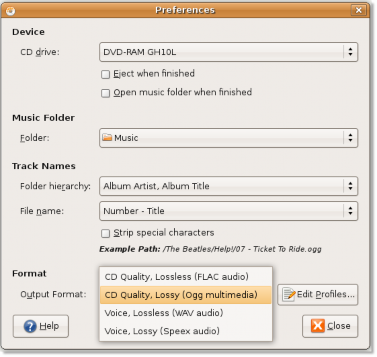
Figure 8.24. Specifying Audio Format
3. Each of these file format has its own customisable profile. Depending on the type of the music track and the destination where it has to be stored, you may need to customise these file formats. Click the Edit Profiles button, then select the desired profile and click the Edit button to edit the profile of the selected file format according to your needs.

Figure 8.25. Editing Audio Profile
4. The Editing profile dialogue box for the selected audio profile is displayed. You can edit the audio profile according to your requirements and the click Close to exit.
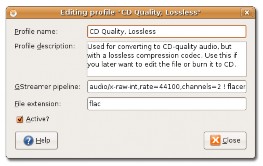
Figure 8.26. Customising Audio Profile
5. You can also use the Preferences dialogue box to define the location where you want the audio files to be stored on your computer. By default, Sound Juicer stores the audio files in the Home directory. To define a location of your choice, select a directory from the Music Folder drop-down list and click Close to exit the Preferences dialogue box.
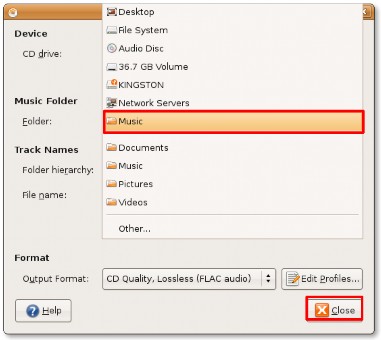
Figure 8.27. Specifying Audio File Location
6. After configuring your preferences, you can go ahead and start extracting all the tracks by clicking the Extract button. However, if you want to exclude some tracks, deselect them by clearing the corresponding check boxes.
Depending on the speed of your computer, the extracting process can take a long time. You can watch the total progress of the process in the lower left section of the Sound Juicer window.
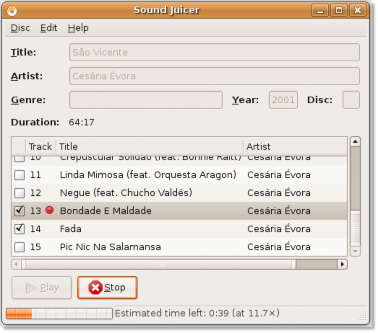
Figure 8.28. Extracting Song Tracks
7. Sound Juicer notifies you after the selected tracks are extracted successfully. Click Open to view the tracks copied on your hard disk.
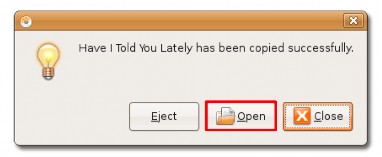
Figure 8.29. Viewing Copied Tracks
8. The CD audio tracks are now copied as audio files on your hard disk. You can listen to these tracks by simply double-clicking them.
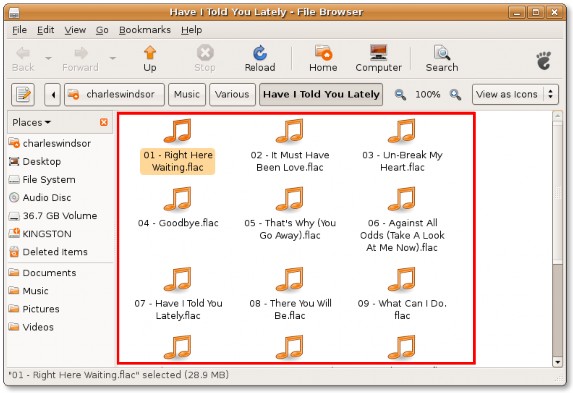
Figure 8.30. The Copied Tracks