
< Previous | Contents | Next >
8.4. Burning Audio CDs
Besides copying audio tracks from a CD to your computer, Ubuntu also enables you to copy music files from your computer onto a CD or DVD. Brasero is the CD/DVD burner application that comes bundled with Ubuntu, by default. It is an easy-to-use application that also allows CD/DVD data disc creation, CD/DVD copying and burning of existing images to CD/DVD.
Procedure 8.4. To burn an audio CD:
1. Launch Brasero by selecting the Applications menu, point to Sound & Video and then click Brasero Disc Burning. The Brasero window is displayed.
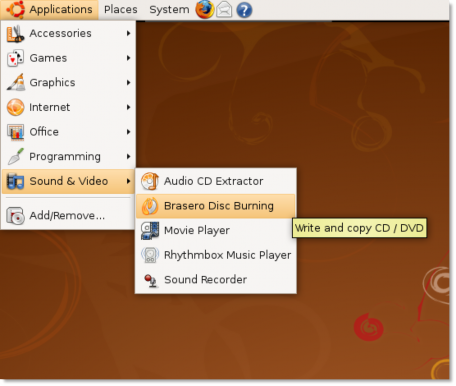
Figure 8.31. Launching Brasero
2. The Brasero Window displays. Click the Audio Project button. You will need to navigate to the folder containing the audio tracks you wish to add to the new CD project.
Figure 8.32. Starting a new Audio Project
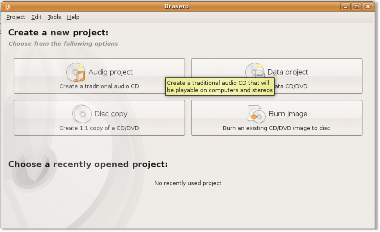
Figure 8.33. The New Audio Project window
3. Now you need to specify the files that you want to be copied onto the blank CD. To start specifying the desired audio files, click the Music folder. This displays the contents of any items previously imported. Double-click the title of the folder where the music files are located. The files are listed in the middle window. You can now add files to the project using any of the methods described in the right side window.
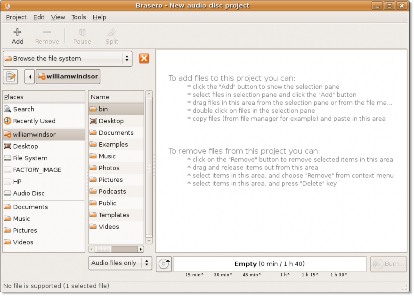
Figure 8.34. Specifying Audio Files to Copy
4. The selected files now appear in the project window. You can also view the estimated disc usage once these files are written to the disc at the bottom of the project window. Based on this data, you may decide to add or delete some files from your current selection. Once you are sure of the files to be copied to the disc, click the Burn button to start writing the audio files from your computer to the CD.
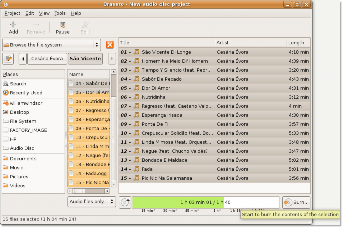
Figure 8.35. Writing Audio Files to Disc
5. The Disc Burning Setup window allows you to change the Properties of the project. You can select the Options checkbox to leave the disc open to add a data session later. Click the Burn button to begin writing the files to the disc.
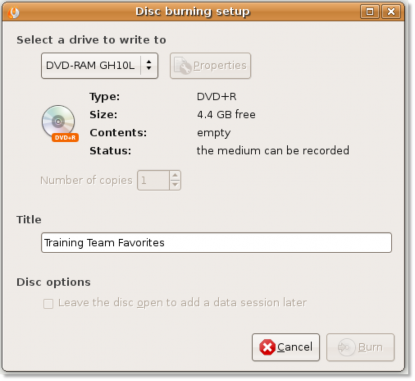
Figure 8.36. Confirming the CD Writing
6. Brasero now starts writing the music files to the media disc. You can view the progress in the Burning Audio Disc dialogue box. This process may take some time depending on the size of the files to be written to disc. Once the process is complete, you have a new CD containing all your favourite songs.
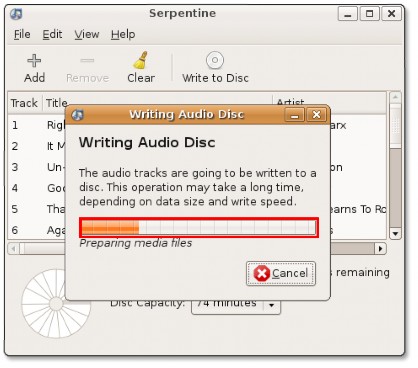
Figure 8.37. Writing an Audio CD