
< Previous | Contents | Next >
8.5. Proprietary Multimedia Formats
Due to the legal restrictions associated with the use of proprietary multimedia formats, Ubuntu does not offer support for such formats by default. If you wish to play proprietary formats, you will need to install additional multimedia codecs. A multimedia codec is a small piece of software that allows you to watch videos or listen to music of a specific format. Although Ubuntu includes many codecs by default, you may need to install more because there are many different multimedia formats and it is unrealistic to provide them all.
Playback of multimedia files in Ubuntu is handled by the Gstreamer multimedia framework. GStreamer by itself does not provide any multimedia codecs, it relies on codecs that have been packaged into a plugin that it uses to perform the actual recording and playback. Typical plugins are:
• gstreamer0.10-plugins-ugly
• gstreamer0.10-plugins-ugly-multiverse
• gstreamer0.10-plugins-bad
• gstreamer0.10-plugins-bad-multiverse
• gstreamer0.10-ffmpeg
![]() Note:
Note:
To know more about which Gstreamer package contains which plugins, visit the following Web
site: http://gstreamer.freedesktop.org/documentation/plugins.html.
Other applications, such as VLC, MPlayer and Xine, do not use the Gstreamer framework.
You can use the Synaptic Package Manager, or the Command Line Interface (CLI) to install these multimedia codecs available in the repositories.
![]() Nice to Know:
Nice to Know:
Codecs can be installed directly from the Movie Player. When Movie Player recognizes a format
it cannot play, it checks if a Gstreamer plugin is available for this format. If it finds one, you can install the codec easily without following the lengthy solution presented below.
Procedure 8.5. To install a codec plugin using Synaptic Package Manager:
1. On the System menu, point to Administration and then click Synaptic Package Manager. The Synaptic Package Manager window opens.
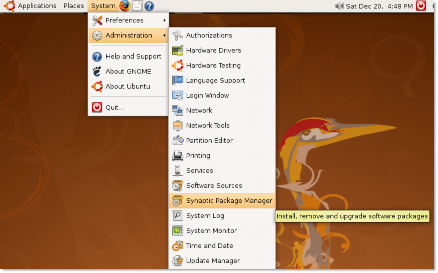
Figure 8.38. Launching Synaptic Package Manager
2. The Multiverse and Restricted repositories are not activated by default in Ubuntu. To install the additional multimedia codecs, you need to first activate these repositories. On the Settings menu, click Repositories. The Software Sources dialogue box is displayed.
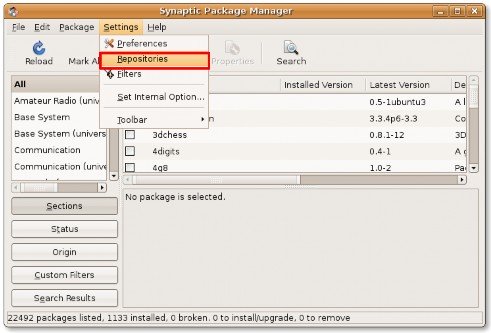
Figure 8.39. Displaying Software Sources
3. To enable the Multiverse and Restricted repositories, select the third and fourth check boxes available on the Ubuntu Software tabbed page, and click Close to exit the dialogue box.
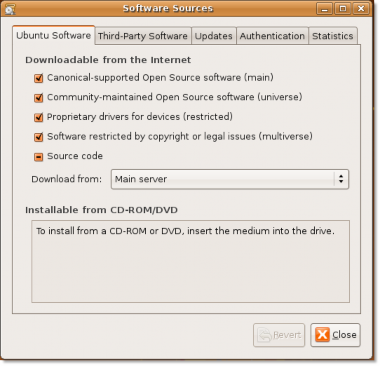
Figure 8.40. Enabling Repositories
4. You may receive a notification that your repository information has changed. Click Close to exit this mes- sage.
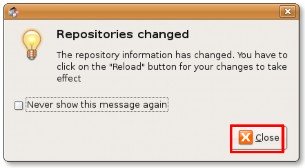
Figure 8.41. Repositories Information Notification
5. Once you return to the Synaptic Package Manager window, you are required to click the Reload button to apply your changes.
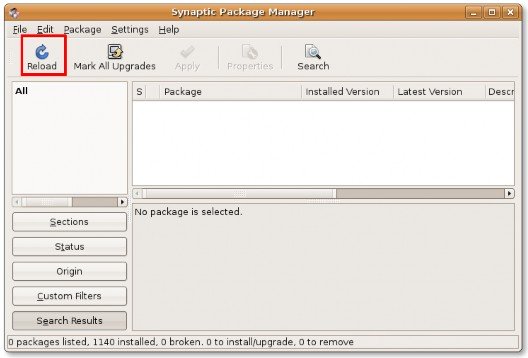
Figure 8.42. Applying Changes
6. On clicking the Reload button, the system starts checking the repositories for new, removed or upgraded software packages.
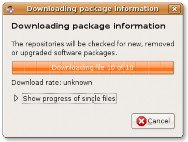
Figure 8.43. Checking Package Information
7. After the Multiverse and Restricted repositories are added in the Ubuntu software sources, you can down- load and install additional multimedia codecs. To install a software package, you need to first locate the package in the Synaptic Package Manager window. You can either search for a specific software package manually or run a search using the search utility provided in the Synaptic Package Manager. To initiate a search for a specific package, click Search.
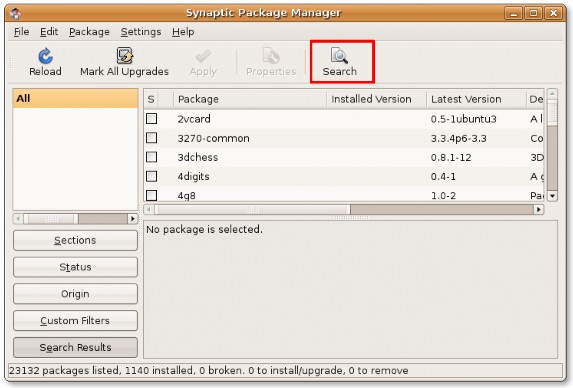
Figure 8.44. Initiating Software Search
8. In the Search field, enter the name of the software package that you are looking for. Click Search to begin the search.
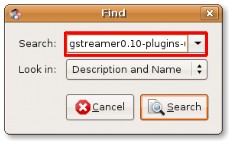
Figure 8.45. Searching a Software Package
9. The search results are displayed in the right pane of the Synaptic package Manager window. Right-click the package to be installed and select Mark for Installation.
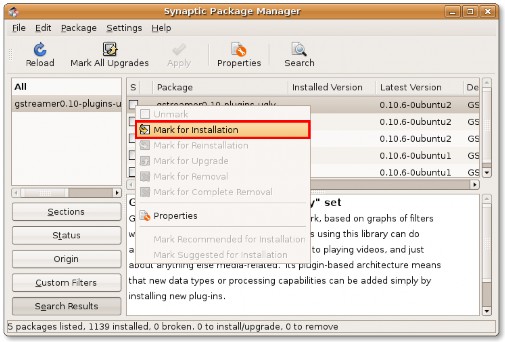
Figure 8.46. Marking Packages for Installation
10. You can mark multiple packages for installation by following the same procedure. Once all the required packages are marked, click Apply to start downloading the packages. The Summary dialogue box is dis- played.
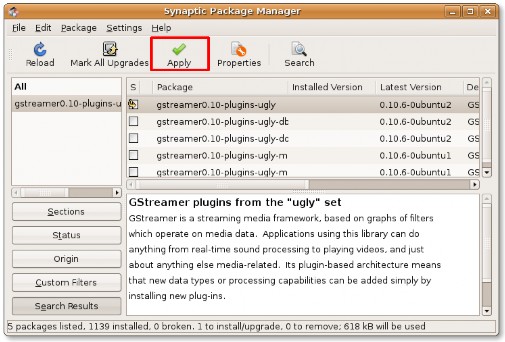
Figure 8.47. Initiating Package Download
11. The Summary dialogue box allows you to take a last look at all the software packages that you have marked for installation. To go ahead with the marked installations, click Apply.
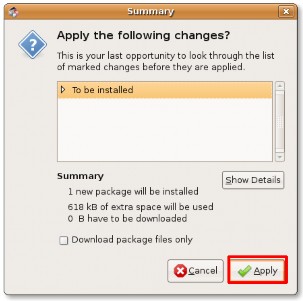
Figure 8.48. Conforming Package Installation
12. After all the marked software packages are downloaded and installed, the Changes Applied dialogue box is displayed. Click Close to exit the Changes Applied dialogue box.
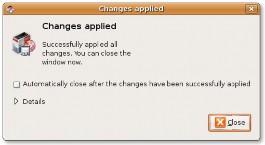
Figure 8.49. Changes Applied Notification
13. The check box corresponding to the recently installed software package has changed to green, indicating that the software has been installed successfully. You can repeat the same procedure to install all the mul- timedia codecs required for playing proprietary multimedia formats.
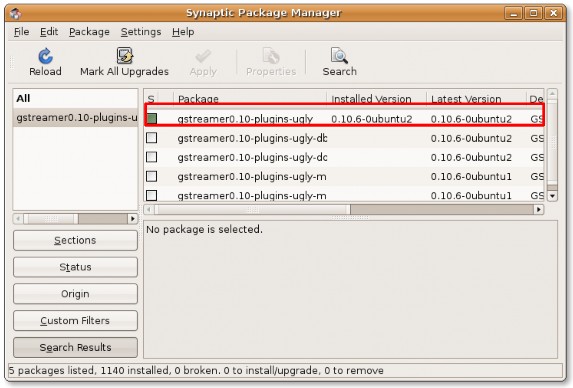
Figure 8.50. Software Successfully Installed