
< Previous | Contents | Next >
3.1.2. Using a Cable Connection
Procedure 3.1. To connect to the Internet using a cable connection:
1. On the System menu, point to Administration and click Network. The Network Settings dialogue box will be displayed.
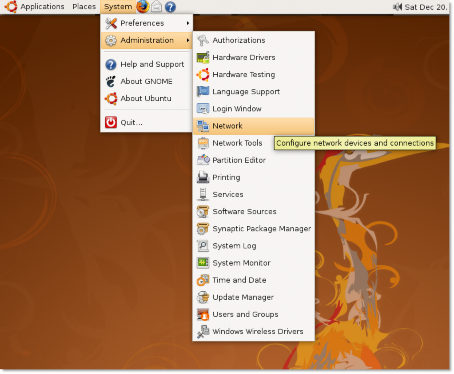
Figure 3.3. Accessing Network Settings
2. Click on the Unlock button and enter your Administrator's password.
3. On the Connections page, select the connection to use. Click Properties. The eth0 Properties dialogue box will be displayed.
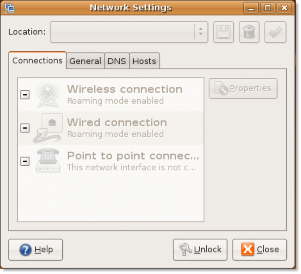
Figure 3.4. Network Settings
4. Clear the Enable roaming mode check box to enable the connection.
![]() Note:
Note:
Most broadband providers will use Dynamic Host Control Protocol (DHCP) to provide you
with an IP address. If a Static IP address is required, it will be provided by your network administrator. The following steps are for setting up a static IP address.
a. In the Configuration box, select the Static IP address option.
b. Type the IP address of your computer in the IP address box.
c. Type the subnetwork (subnet) mask of your computer's IP address in the Subnet mask box.
![]() Note:
Note:
A subnet mask divides a network of IP addresses into groups, which facilitates routing
of data.
d. Type the IP address of your ISP in the Gateway address box.
![]() Note:
Note:
A gateway is a device that connects a user to the Internet. It is provided by the ISP.
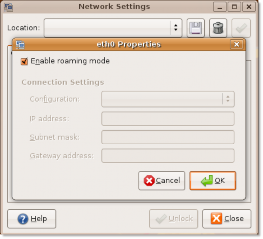
Figure 3.5. eth0 Properties
5. Click OK to complete the configuration for the cable connection.
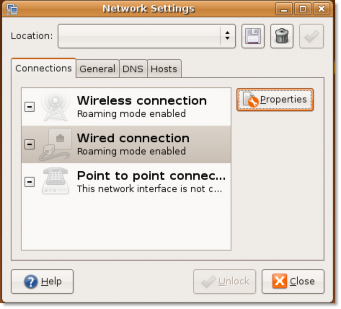
Figure 3.6. Network Settings
Now, you can connect to the Internet by using the cable.
If your internet provider uses DHCP (Dynamic Host Connection Protocol) you simply need to select Automatic Configuration (DHCP) from the Configuration drop down menu.