
< Previous | Contents | Next >
8.7.2. Editing Audio Files
You can use Audacity for editing audio files. Audacity is not included in the default installation of Ubuntu but it is a free and open source software application, which can be installed easily from the Universe repository of Ubuntu. You can install Audacity using either the Add/Remove Applications or the Synaptic Package Manger.
Procedure 8.8. To edit audio files using Audacity:
1. On the Applications menu, point to Sound & Video and then click Audacity Sound Editor.
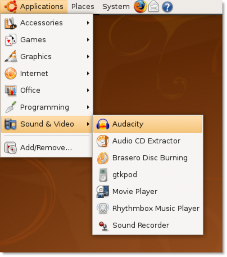
Figure 8.64. Launching Audacity
2. When you access Audacity for the first time, it will ask you to select a language to use with the applica- tion. Apart from English, Audacity provides language support for more than 30 languages, including Ara- bic, Bulgarian, catalan, Czech, Danish, Finnish and many more. Select your language preference from the Choose Language for Audacity to use drop-down list and click OK.
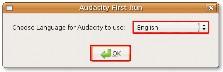
Figure 8.65. Selecting Language for Audacity
3. The Audacity main interface window is displayed. You can use the various controls and tools to play, create and edit audio files.
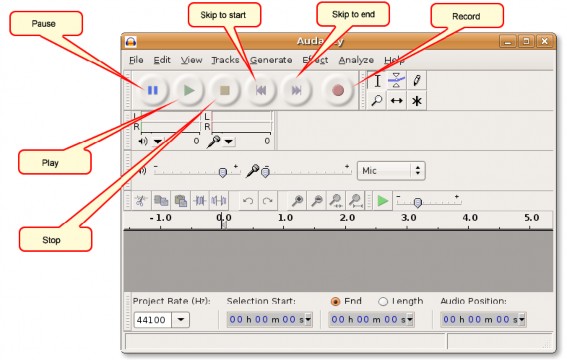
Figure 8.66. The Audacity Window
4. You can now start editing an existing audio file in Audacity. To do so, you need to first import the audio file into Audacity. To import an audio file, on the File menu, point to Import and then select Audio. The Select one or more audio files dialogue box opens.
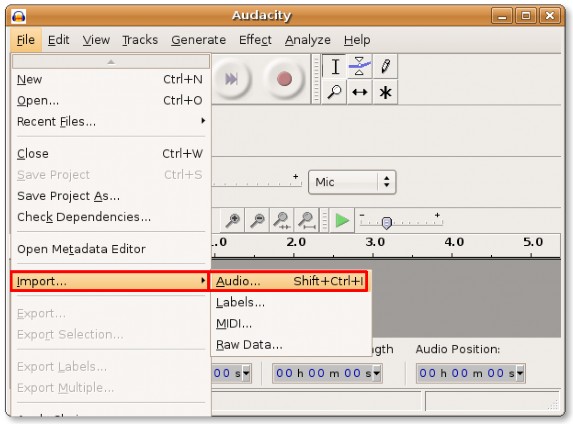
Figure 8.67. Importing Audio Files into Audacity
5. Select the audio file that you want to edit and click Open to open the file in Audacity.
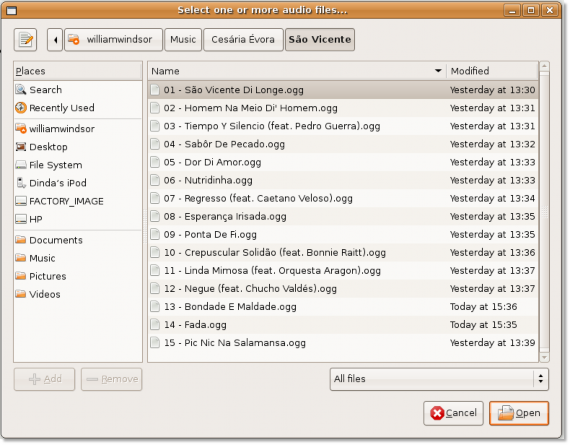
Figure 8.68. Selecting the Files to Import
6. The selected audio file opens in the Audacity interface. The audio file is represented as the blue waves in the lower part of the Audacity window. Now you can perform a whole range of tasks on this file.You can cut off some unwanted portion of the imported audio file, insert silence at some point, can add various audio effects on different sections of the file and may even export the file into an altogether different file format.
Audacity also allows you to play an audio file. Click the Play button to start playing the audio file.
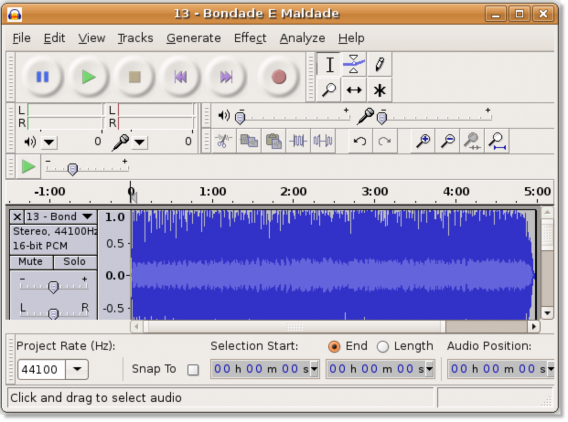
Figure 8.69. Playing the Imported File
7. The audio file starts playing in the Audacity audio editor. You can use the various tools available with Audacity to start editing the current audio file:
• Magnifying tool: If you find that due to the length of the current file, you are unable to view the portions that you want to edit, you can use the Magnifying tool. This will let you zoom in on a specific area.
• Envelop tool: This enables you to change the volume of specific selections of the sound file.
• Time Shift tool: Allows you to move the entire sound file in relation to time; helpful when you are working with multiple tracks.
• Selection tool: Enables you to highlight portions of the sound file on which you want to work. To start editing a specific portion of the sound file, activate the Selection tool by clicking it.
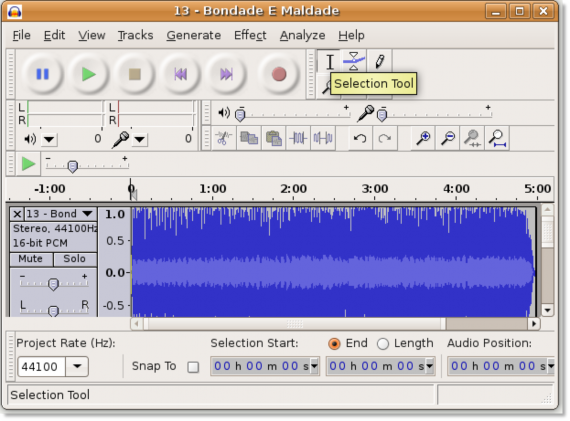
Figure 8.70. Picking the Selection Tool
8. Select the area you wish to edit by dragging across the area while pressing the left mouse button. The selected area appears in a shade of darker gray.
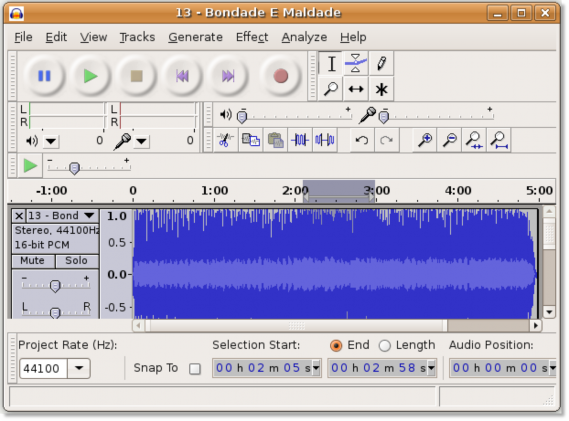
Figure 8.71. Selecting Audio Portion to Edit
9. You can now cut the area if you wish to remove this part of the audio file otherwise, edit this portion by applying various sound effects to it. The Effect menu contains all the digital audio effects that you can apply on an audio file. Some of these are:
• Amplify - Increases or decreases volume without altering sound quality
• BassBoost - Increases the volume of a specific frequency.
• Echo - Allows you to add an echo specify the delay time.
• Fade in - Fades from silence to the present volume
• Fade out - Fades from present volume to silence
• Invert - Flips the audio samples upside down
• Noise Removal-Allows you to remove background noise
• Reverse - Allows you to play the selection backward
To increase the volume of the selected portion, on the Effect menu, select Amplify. The Amplify window opens.
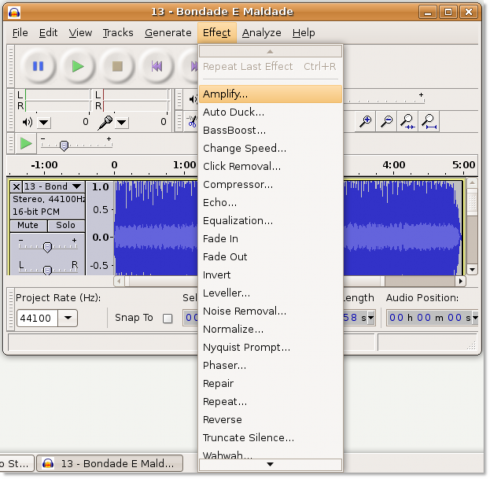
Figure 8.72. Applying Sound Effects
10. In the Amplify window, you can use the slide bar to increase or decrease the amplification. Click OK to apply the effect to the selected portion of the audio.
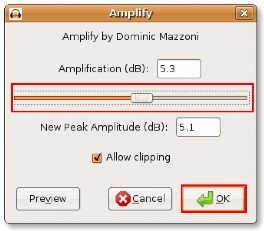
Figure 8.73. Amplifying the Audio Clip
11. Notice that the blue waves in the selected area have changed. You can now listen to the changed audio by clicking the Play button.

Figure 8.74. Verifying the Edit Effects
12. After you are satisfied with all the edit effects, you can save the edited audio file. Because the default audio format of Audacity is not readily supported by many applications you should save the file in a more popular audio format, such as Ogg Vorbis or MP3.
To save the file in a different file format, click Export.
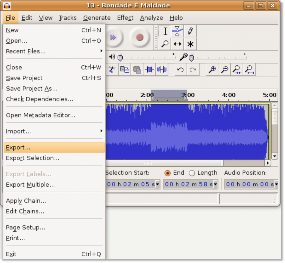
Figure 8.75. Exporting Audio File
13. In the Export File dialogue box, select the folder where you want to save the file. Then, select the desired file format from the drop-down list and then click Save to export the file in the specified file format.
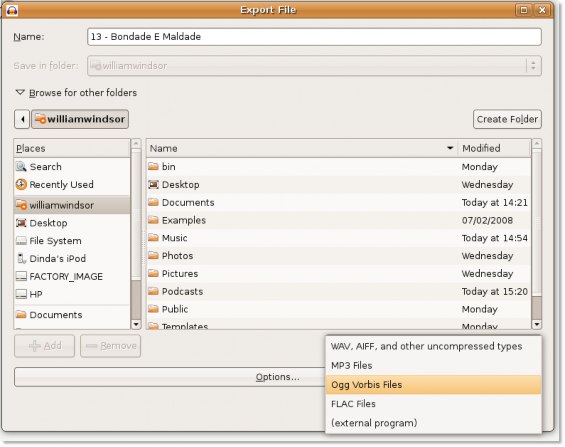
Figure 8.76. Exporting as MP3 File
14. Audacity starts exporting the file in the specified file format. This process may take up some time depending on the length of the audio file.
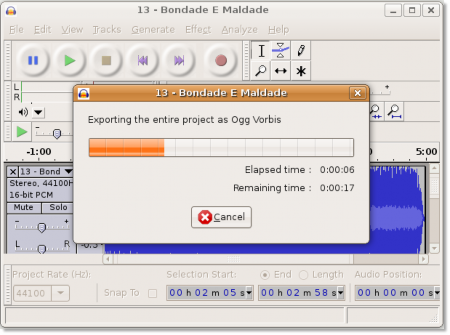
Figure 8.77. Export Progress Indicator
The audio file is exported to the specified location. You can now close the Audacity window and listen to the edited audio file whenever you wish.